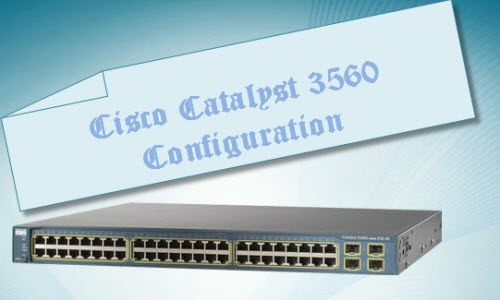
Cisco 3560 Series, fixed configuration Enterprise class switch with PoE functionality in Fast and Gigabit Ethernet configurations, is intended to provide high-performance network switching while reducing power consumption relative to previous Cisco switches for use in corporate networks. It could also be used for environments in branch office.
Catalyst 3560 Cisco Switches support network switching for voice and video data. So you can use the Express Setup utility that ships with Cisco 3560 switches to configure a Cisco 3560, so that it can be attached to the network.
Note that some details may depend on the release, what you intend to do with the switch and how complex your environment is. Refer to the Cisco Configuration Guides for details and guidelines for specific releases of the 3560 switch.
How to Configure Cisco 3560 Series? Do the following guide to finish your Cisco 3560 configuration.
Things you’ll need: Ethernet cable
1. Disconnect any cables connected to the switch.
2. Power the switch by connecting the AC power cord to the switch power connector and to a grounded AC outlet. This will start the power-on self-test (POST) process on the switch. The LED lights on the front of the switch will blink during the POST.
3. Wait for the “SYST LED” light on the front of the switch to turn solid green, which indicates that the POST is complete. Press and hold the “Mode” button on the front of the switch for three seconds as soon as the POST is complete. When all LEDs above the “Mode” button are green, release it.
4. Connect one end of a Category 5 Ethernet cable to any Ethernet port on the switch front panel, and the other end to the Ethernet port on your computer. Open a web browser on your computer and type “10.0.0.1” in the Address bar, then press “Enter”. This opens the “Express Setup” page and displays the “Network Settings” fields.
5. Enter the switch’s IP address in the “IP Address” field. Click the drop-down arrow in the “IP Subnet Mask” field and select an IP Subnet Mask. Enter the IP address of your network’s gateway device, such as a router, in the “Default Gateway” field.
6. Type a new password in the “Switch Password” field. The password can be up to 25 alphanumeric characters long, may start with a number, and is case-sensitive. Re-type your password in the “Confirm Switch Password” field.
7. Type a name for the switch in the “Host Name” field. The host name can be up to 31 alphanumeric characters long.
8. Enter date and time information in the “System Date”, “System Time” and “Time Zone” fields.
9. Click the “Submit” button. This exits Express Setup mode and completes the setup configuration.
More Cisco 3560 Guide:
How to Save/Keep the Cisco 3560 Switch Configuration?


